FX Panthera to FX Dynamic Rear Stock Replacement Guide

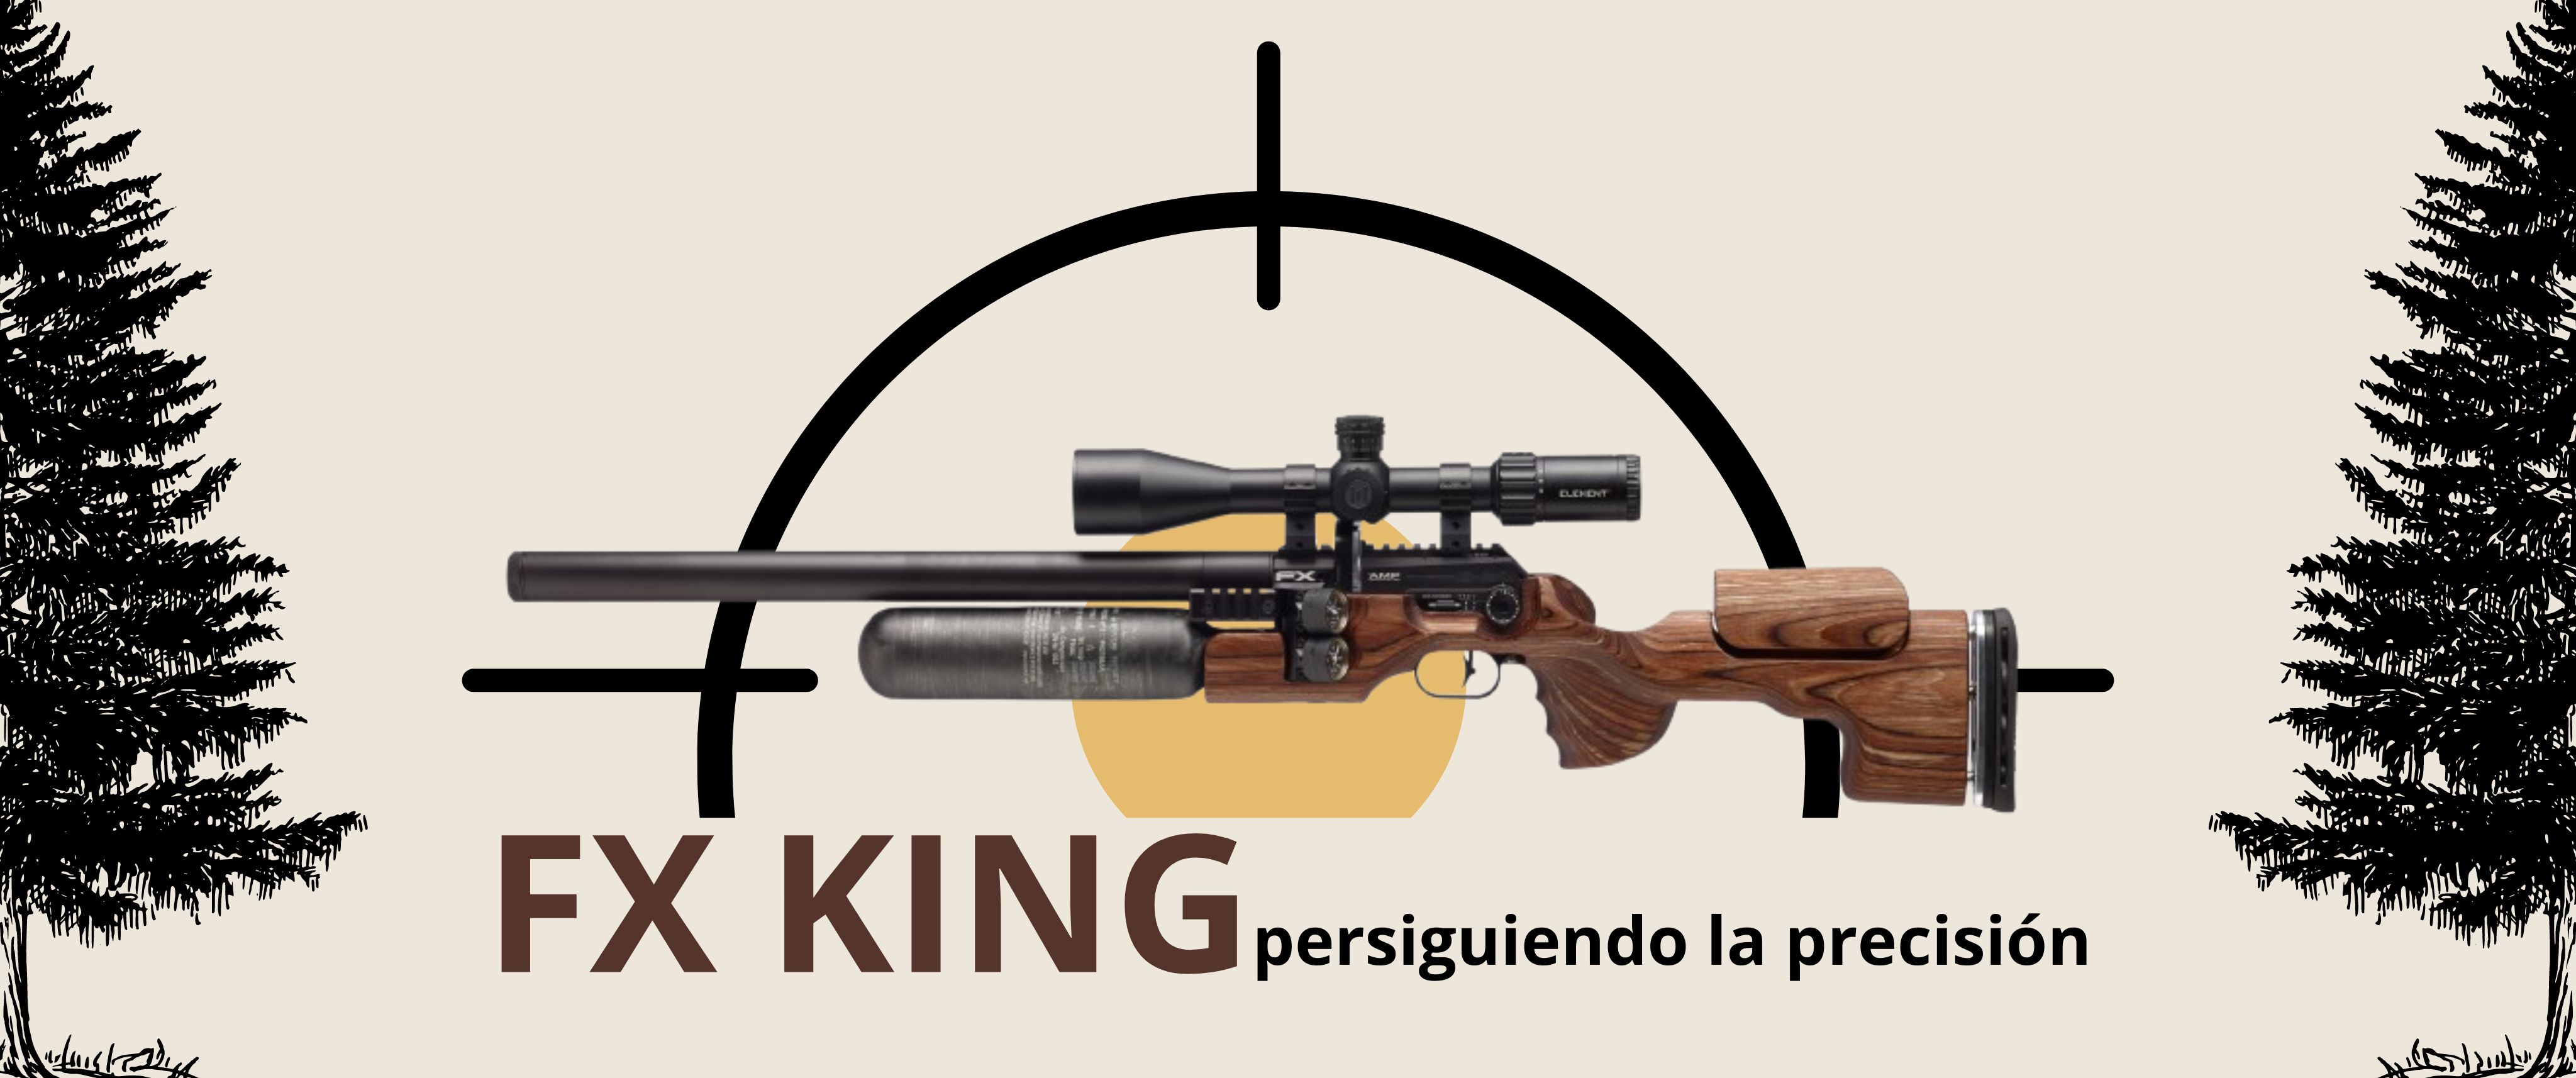
Change the rear stock of your FX Panthera to an FX Dynamic, in order to get more range without mounting a front bottle.

Below, I will answer all the key questions about the process and provide you with a list of all the parts and tools needed, along with links to purchase them.

We recommend you to download the exploded view of both carbines!

By clicking on the image below, you can find all the FX exploded views, with links to all the parts.

All parts required for the Panthera Stock replacement -> to FX Dynamic

1. Racoil Pad Transition Gatling: To be able to connect the stock to the carbine.Buy here.

3. Adapter Tube Holder Complete: To connect the new butt plate to the cylinder head Buy here.

5. Recoil Pad Gatlin: .For spectacular support Buy here.

2. Tube Holder Dynamic: To secure the bottle. Buy here.

4. Adjustement Screw Recoilpad: Necessary to secure the Butt plate at the wanted height. Buy here.

6. Countersunk Screw M5x18: To fix the stock. Buy here.

7. Carbonfiber Bottle 480 cc The quintessential FX bottle. Buy here.

To install the Aluminum FX 400cc bottle an adapter is required to be mounted on the clamp: Buy Here

¿How to Disassemble the FX Panthera’s Rear End?

Pre-preparation: Empty the FX Panthera of pressurised air.

1. Remove the rear bottle

1.1 once the cylinder is removed, the system will still have pressurised air. Caution!

2. Purge the remaining air from the carbine, shoot without ammunition into a Pellets Catching Target. Until the plenum gauge is discharged.

Necessary tools:

Use a set of Allen keys suitable for the screws on your rifle. We recommend the one we use here: Wiha Allen key set.

Dismantling FX Panthera Stock:

Remove the 4 screws marked nº27 in the image, to get to them we have to remove the lower side covers held by 4 screws marked nº4.

FX Dynamic stock assembly.

Primero descargar despiece FX Dynamic
Nos referiremos a la nomenclatura del despiece

To install the FX Dynamic stock you will first need to use a little silicone grease on the #10 oring and leave it in place.

The transition block (13) can now be put in place and screwed on (12). Once screwed on, the washer (11) is put in place and the bottle connector (9) is screwed on and the second washer (11) can be passed through.

Before mounting the clamp to the air bottle we recommend mounting the air bottle to the connector.

IMPORTANT NOTE ALL THREADS MUST NOT BE FORCED

Once the Air bottle is connected to the connector, the clamp (6) is mounted on the Air bottle and the carbon tube with the tube adapter (2+7) is placed on the under side of the clamp and only thing is to closed the clamp with the screws (5).

All that remains is to set the corner piece (1) to the desired height and tighten the screw (3+4).

If you have any questions, please do not hesitate to contact us:

Recommended Posts

No comment yet, add your voice below!


Add a Comment

Your email address will not be published. Required fields are marked *